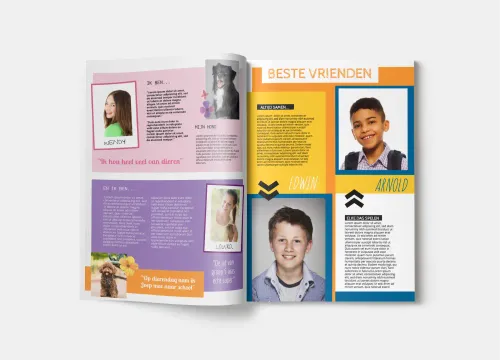
Primary school project, designing a magazine
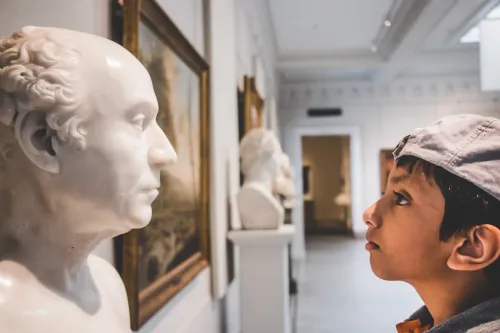
Media and children are a big topic - in school too, of course. Some parents are unsure how much media consumption makes sense for their child and severely limit it. Others, on the other hand, are carefree about the subject. The goal should be to find a healthy middle ground. As a teacher, you know that media can be a great tool for imparting knowledge and applying it yourself. We show you how you can create a magazine in class already in primary school.
Media literacy in the classroom
Dealing with different media can be a meaningful part of teaching at school. Jilster can provide support here. Designing your own magazines with the makerspace combines many different subject areas: text types, spelling, design, research, photography, collaboration and much more. At the same time, the children can work creatively on a project, which they can then hold in their hands and proudly present.
The content, many possibilities
First and foremost, as is often the case, is the idea. What topic can the class write about? What are the children interested in? They can collect and think about it together. This could be current lesson content, a joint excursion, a portrait of the children's own school or neighbourhood, stories they have written themselves etc. It is a good idea to create a joint magazine with the class on a topic to which everyone contributes something. Depending on the class level and competences, the contributions can be made in individual, partner or group work. If photos are used or own photos are created for the magazine, it is a good idea to integrate the topic of copyrights and the right to one's own image in a practical way. You can also take up other topics here (basics of photography, colour theory, bullying etc.). If the children draw their own pictures or if there is room for handwriting in the magazine, these elements can be scanned and later uploaded directly into the layout as a PDF.
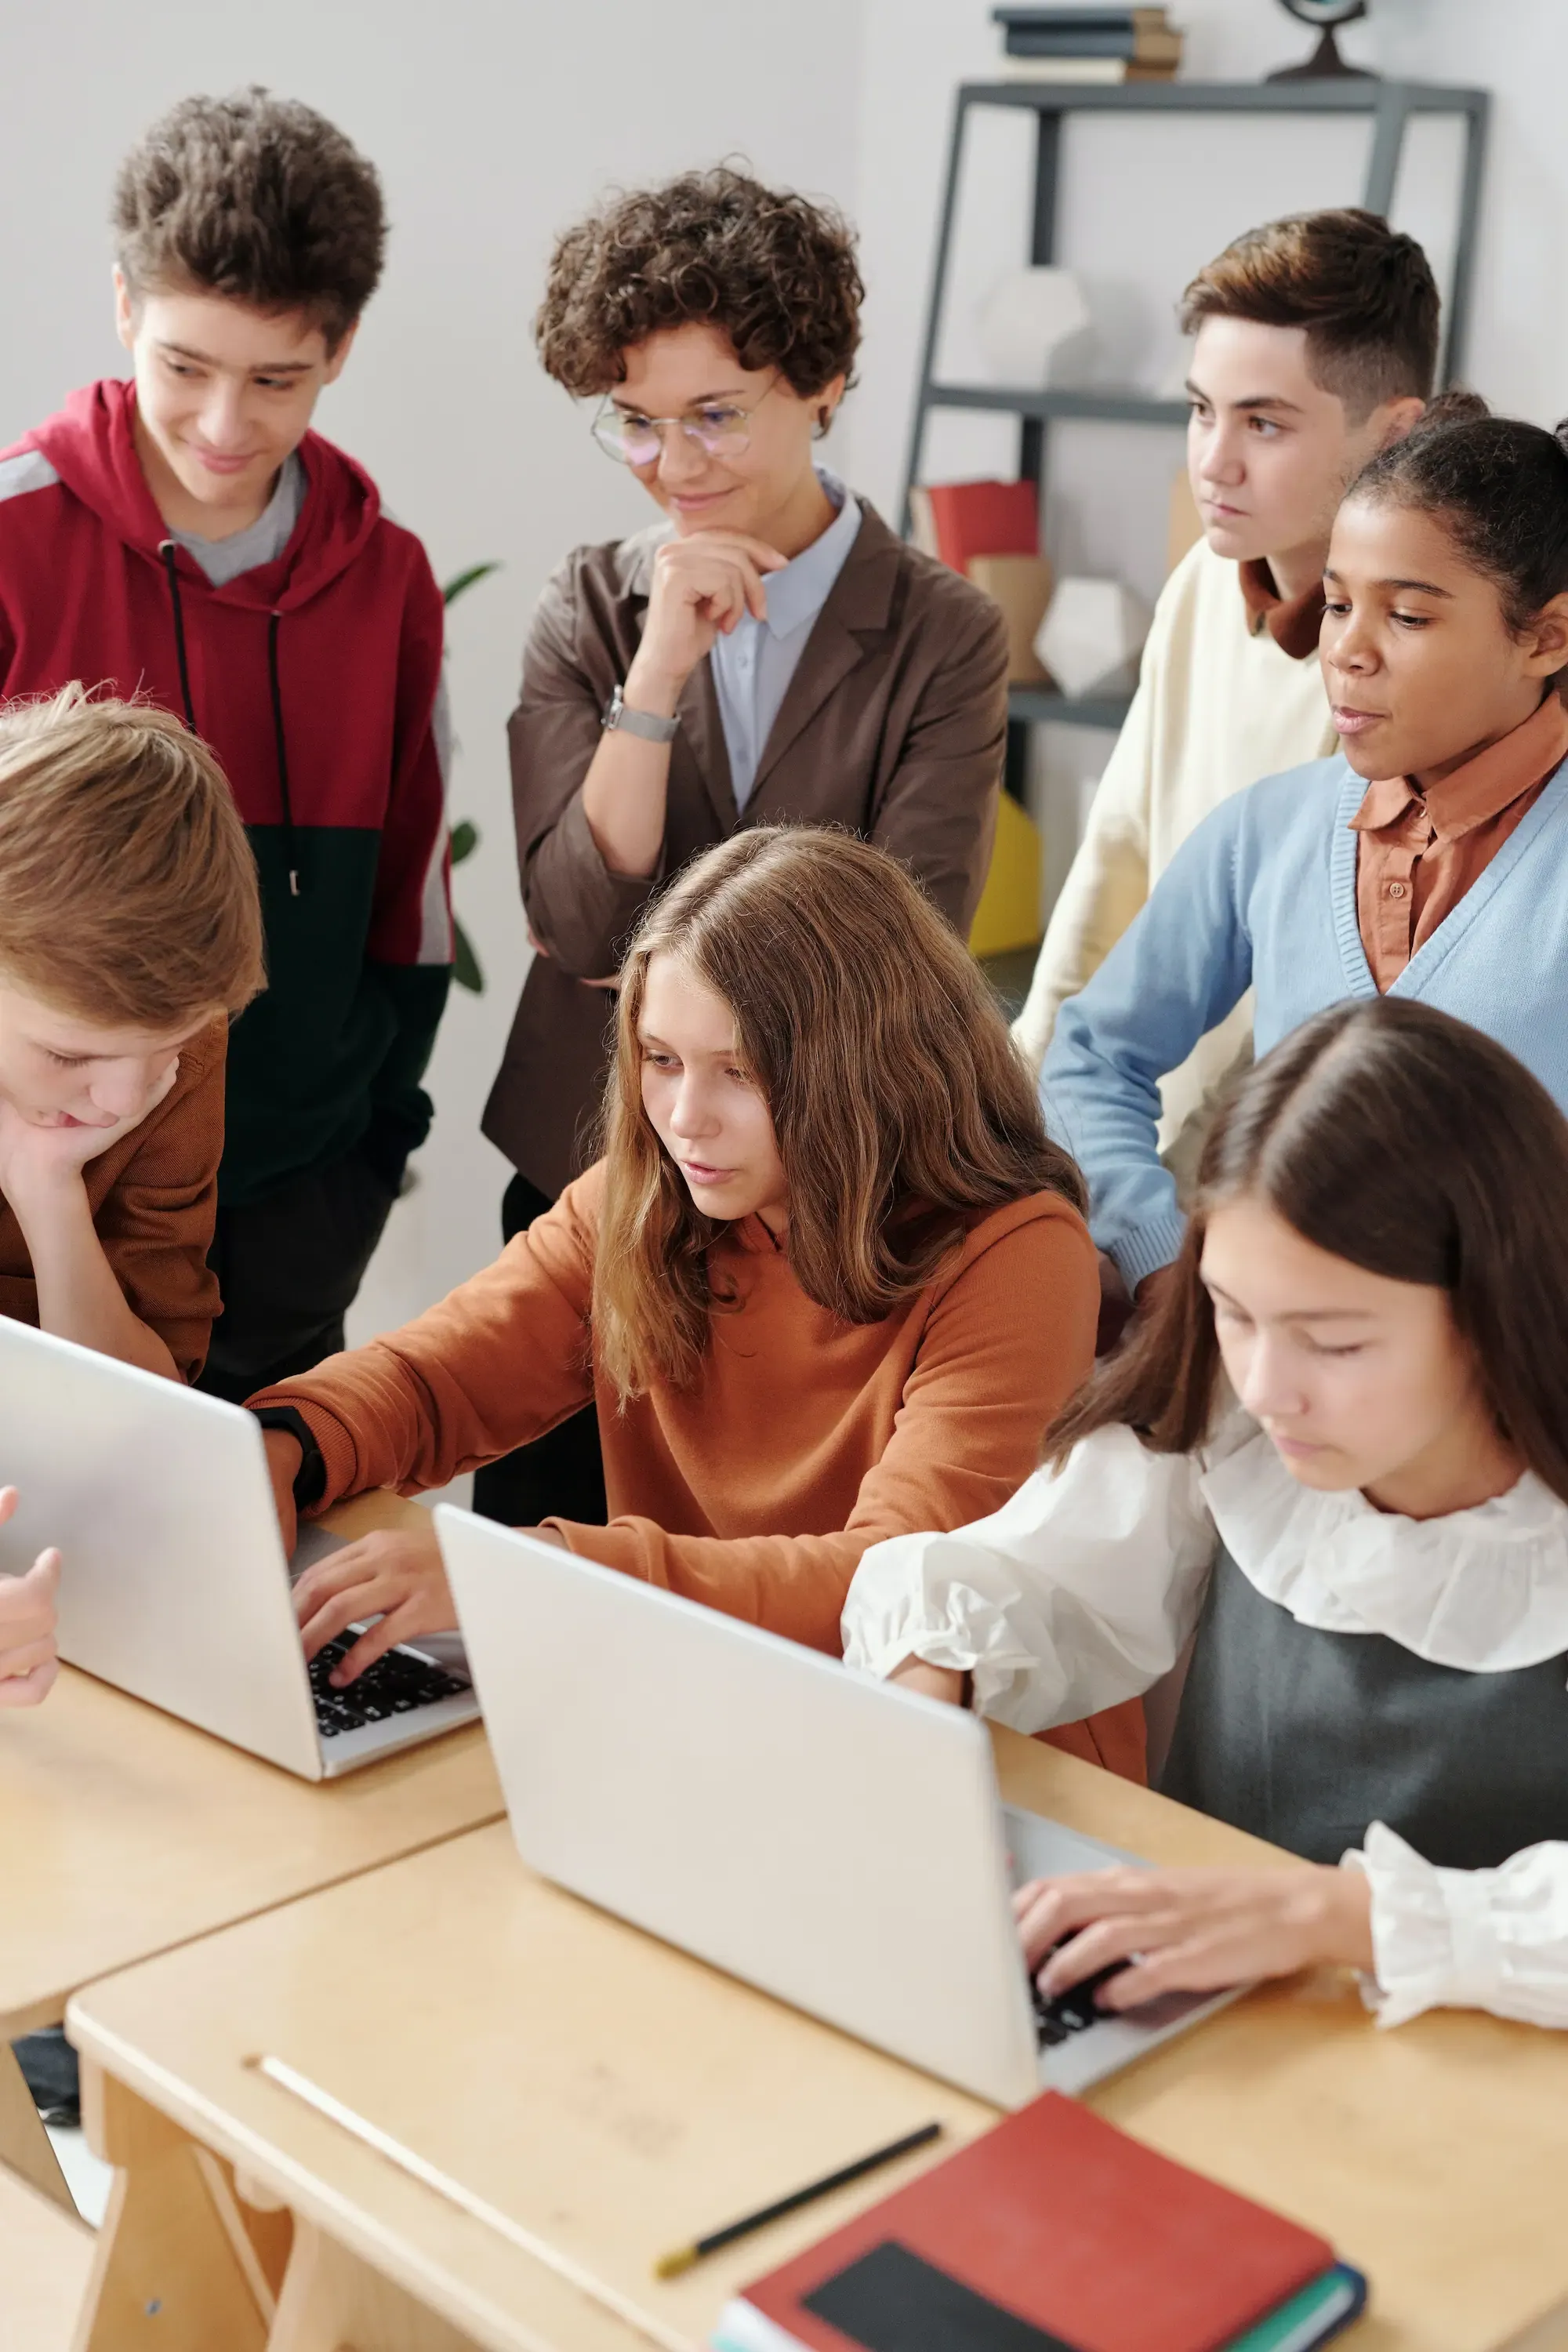
Technical implementation
It is a good idea to discuss all the following steps on the computer in plenary beforehand and to agree on the layout together. Which colours, which decorative elements fit the theme etc.? For the basic layout, you can choose one of our practical templates beforehand. Of course, the possibilities vary depending on the technical equipment of the school: Is there a computer room available with enough workstations for one or two children to use a computer? Or is there the possibility to use a device with small groups? Only in this way can the children themselves step in the makerspace. Be sure to note: An email address is required to register with Jilster. If several children are working on the project at the same time, they must register with their own account (= an email address). As editor-in-chief, you can then assign the prepared pages (already stored layout with prepared fields for the texts and photos) to the individual pupils, so that everyone only has access to their own magazine page. The children may also be able to do simple layout tasks (e.g. choose font and colour) themselves. If there are no computers in the school or there are other reasons why the pupils should not work in the makerspace themselves, the content for the magazine can be prepared in class and you then insert it into a layout. Maybe you can also show at least parts of the work in the makerspace in class with the help of a beamer.
The magazine is ready
The big moment has arrived. The class's own magazine is ready. When the project is finished, you can have copies of your class magazine printed. Alternatively, you can generate a free online magazine that can be emailed and also embedded online, for example on the school website. Have you ever used Jilster in class yourself? How did it work? What did you and your class like and dislike? Tell us about it and send us a message. We are always here to answer your questions.