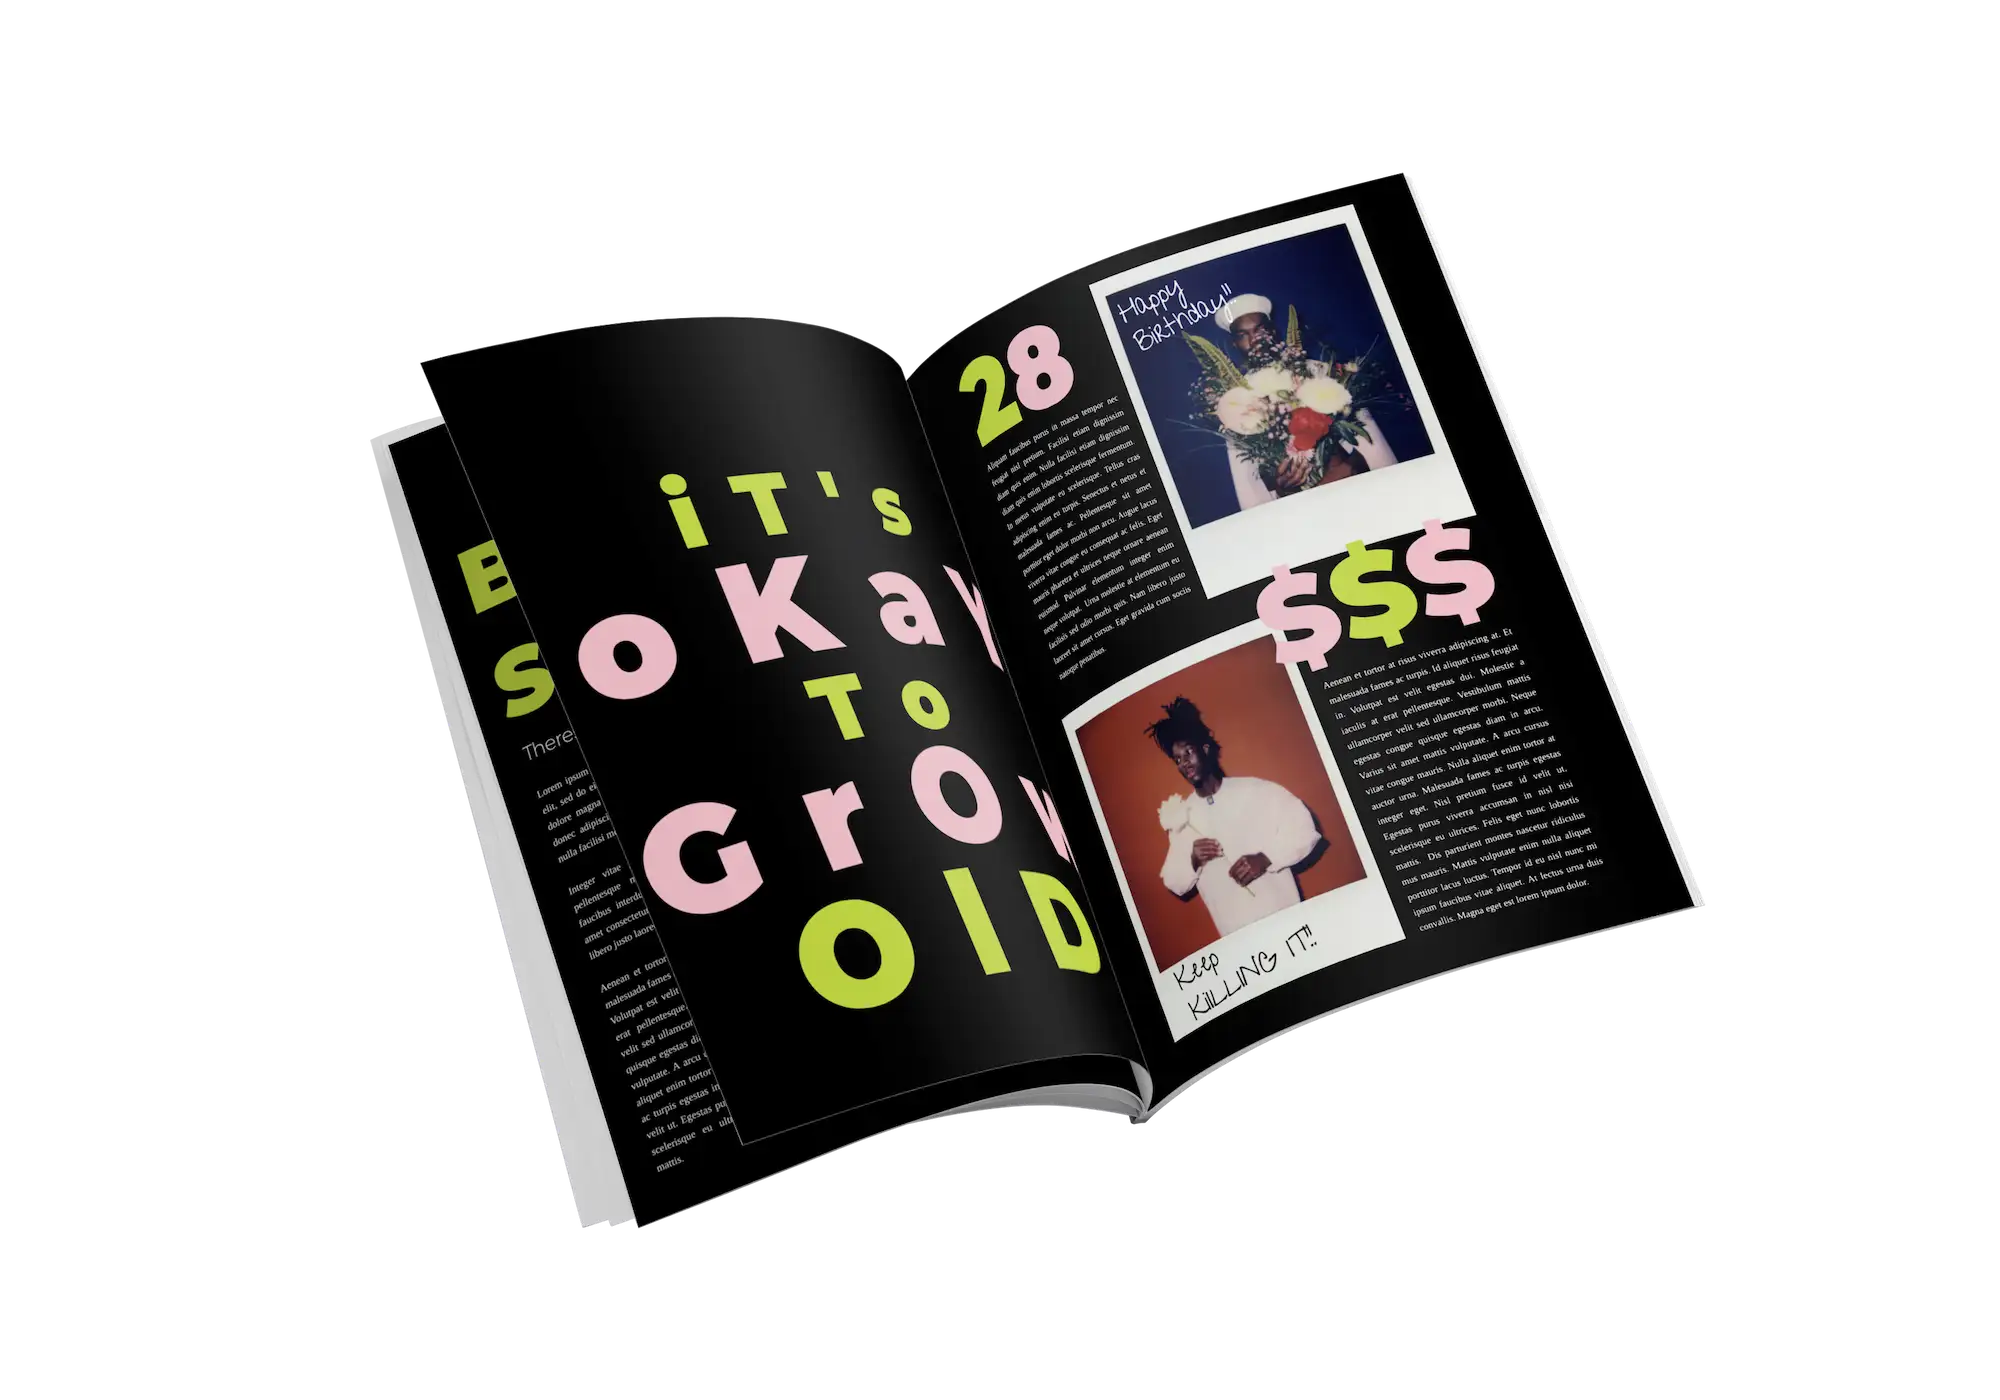
A milestone birthday is a good opportunity to look back and proudly reflect on the stages of a successful life. In your self-designed birthday magazine, you can include a line of numbers on (at least) one double-page spread. With the help of photos and short texts, you can list the most important, most remarkable and funniest events and moments of the last 18, 30, 40, 50, 80 or more years.
What is a timeline for?
A timeline is a nice way to effectively present important moments and experiences. Here you can document the story of the birthday boy or girl's life in text and pictures. This means a lot of conversation and many ah- and oh-moments. Photos and short texts - usually just keywords - make up the timeline in combination with the important dates. That's why a timeline is especially suitable for a magazine for a (round) birthday. A timeline is also fun for readers on the occasion of a silver or gold wedding anniversary or for a company anniversary.
Briefly and succinctly, all the major events of a life can be presented on a timeline: Birth (or the wedding or the establishment of the business), perhaps moves, the first great love, the first car, the wedding, the birth of children and much more. For the birthday boy or girl, the celebrating couple or the business owner, these are special moments and great events that are remembered in this way. For the guests of a birthday or (gold/silver) wedding celebration or a company anniversary, it is interesting information that provides the starting point for many a conversation.
Design a timeline yourself - 5 tips
Step 1: Collecting
Together, compile a list of the birthday person's most important events and milestones.
Step 2: Orientation
Assign all events to the correct year and make sure you haven't forgotten any important milestones.
Step 3: Sorting
Do you have pictures of all the milestones? Who can you ask to get more pictures? How can you replace missing photos? Maybe with photos from image databases, children's artwork, re-enacted photos ...
Step 4: Customize
In the makerspace, there is a template for the timeline in the magazine templates. Use the template, fill it with your text and customize it to the rest of your magazine and your taste: color, font and details.
Step 5: Optional
As an alternative, you can create your own layout for your timeline in the makerspace.


