Designing your own yearbook is a real challenge. To succeed, we have collected many ideas for content in this article and summarized the main steps on the way to creating your own yearbook. Find your inspiration here and get ideas to create a super cool yearbook.
What topics do you want in the yearbook?
Before you fill the yearbook with content, it makes sense to know what you want to write about in the first place. You gather all the ideas and topics in the editorial team. For this, you can also look at old yearbooks. Also look at our magazine templates for inspiration.
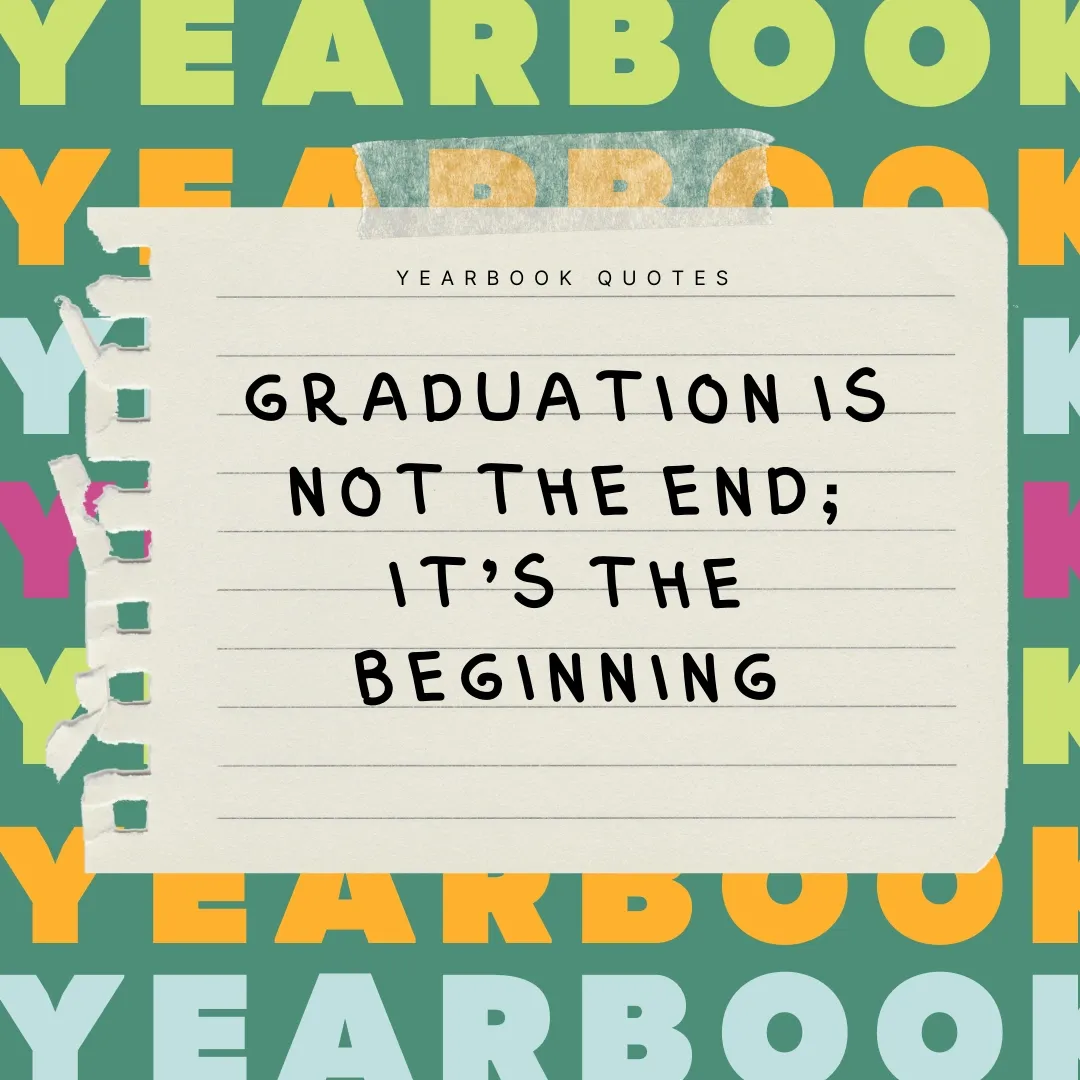
Possible topics and categories for the content of your yearbook
- Greeting by the director
- Table of contents
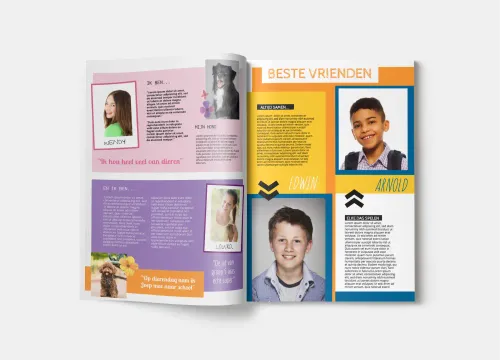
- Profiles of all students with photos and information
- Quotes from fellow students, teachers or famous people for inspiration
- Photos, photos, photos - portraits for the profiles, course photos, snapshots of trips, parties and daily life, etc.
- Profiles of teachers with nicknames, typical sayings and funny anecdotes.
- Course reports - what happened in class?
- Insight into course and level travel with photos and stories
- Rankings - who is the clumsiest or potential Nobel Prize winner?
- Class book notes - especially the very old ones
- Thank you notes to the head of the class, the janitor or the school secretary
- Paid advertisements from your sponsors
- Best student and teacher sayings and quotes - someone wrote them down anyway
- Creative contributions - pictures, poems or short stories
- Timeline with the most important events of your grade.
- Photo quiz - which baby picture belongs to which student?
- Caricatures of teachers - who is good at drawing?
- Confession - what embarrassing thing happened in your school days?
- Puzzle of funny picture to cut out and put together
- Memo game with pictures of teachers and students
- "Little ones about big ones" - what do younger students say about school leavers?
- Career suggestions from teachers for students
- Knowledge quiz about the school - for example, who knows when the school was founded?
What sections will be in your yearbook?
Use a blackboard, a flipchart or a laptop with a projector to gather and organize your thoughts. Write everything down unorganized at first and don't judge others' contributions. You will probably come up with more ideas than are feasible. And that's fine in the gathering phase.
In the next step, vote on which topics are most important to you. For example, create voting statements or use an online voting tool. This way you can determine a hierarchy of topics.
Do you find it difficult to decide? - Ask yourself the following questions:
- What is most important to you?
- What can you absolutely not live without?
- What could you possibly do without?
To make the final decision about what to include in your yearbook, you need a page plan: How many pages should your yearbook have? How many pages do you need for mandatory sections, such as the table of contents, the welcome address and student profiles? How much space is left for the other categories? Divide these among the pages. You can do this in the makerspace by placing keywords on the pages as placeholders. That way it is clearest. You can also move the pages around in the makerspace and change them at any time.
Do you have a first draft? Do you now know what articles you want to write and what topics should be in your yearbook?
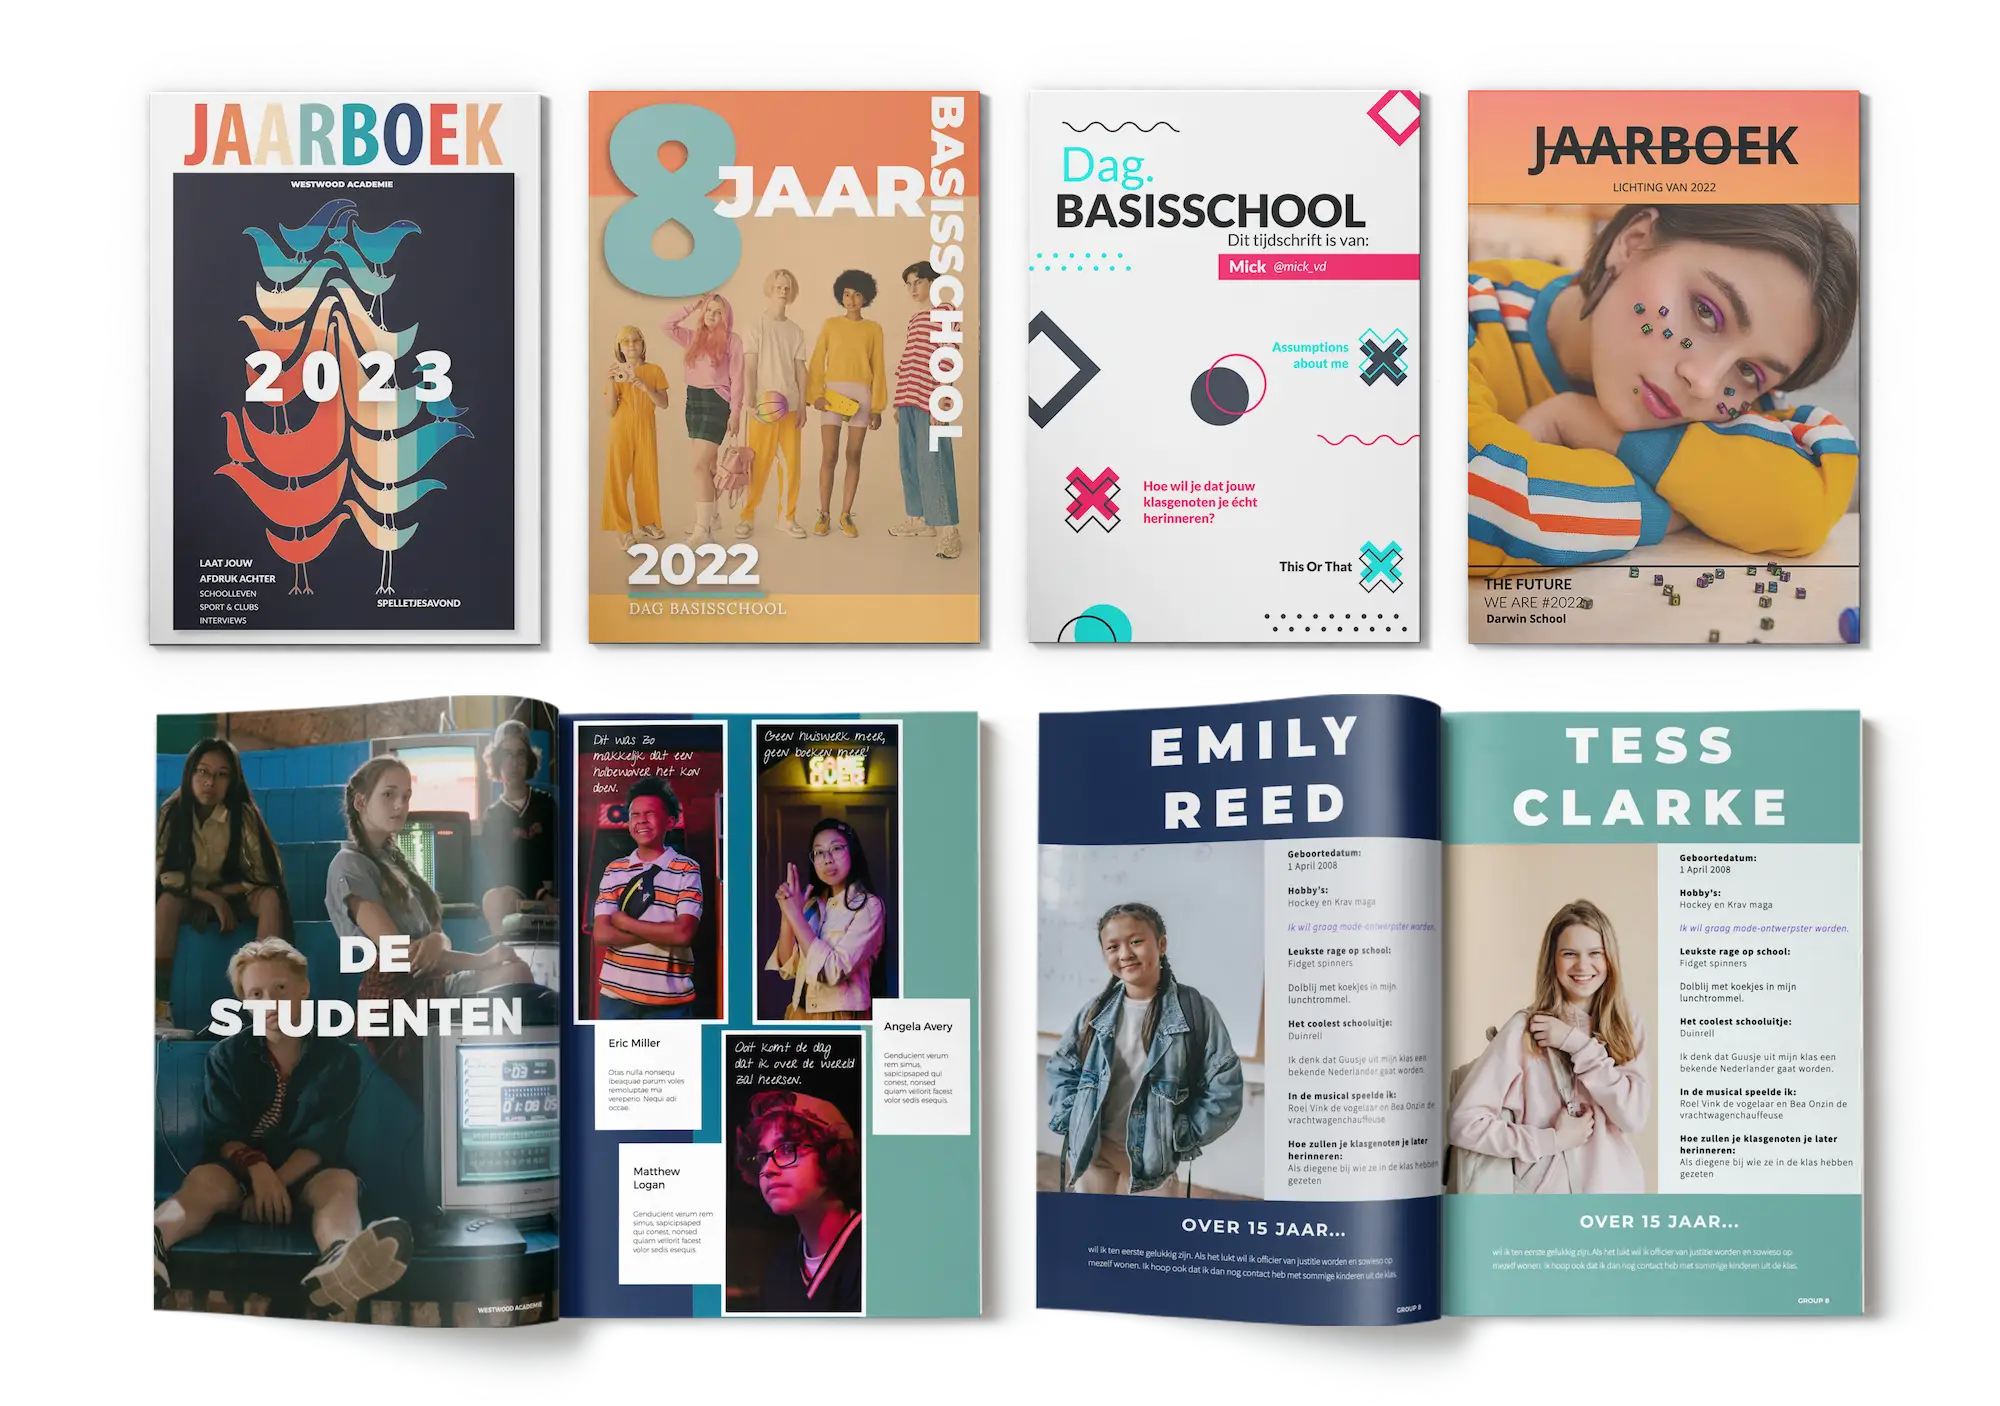
Design the yearbook layout in the makerspace
In the makerspace you can create your own layout in a few steps. There you will find many beautiful journal templates and editing tools. That way you can create a professional yearbook in no time.
The right layout - whether you design it yourself or use a professionally formatted template - is half the battle. Add to that your great texts for all sections and successful photos.
At a glance: the three important steps to your yearbook with Jilster
Step 1
Sign up for free and try out the makerspace with no strings attached. Send your classmates from the yearbook committee an invitation to the makerspace, get to know our templates and see the different versions in which we print the yearbooks. In the price calculator you can find more information about the costs and also the delivery times of your yearbook.
Step 2
Now you can get started in the makerspace. You can edit all pages as you like. Design your own layout or use our many templates.
Assign the creators in the makerspace the respective pages that they can edit. Then they all add their own photos and text.
Step 3
Are you completely satisfied with your yearbook? Has everyone finished their assigned pages? Then you can check, proofread and then have the yearbook printed in the design of your choice.
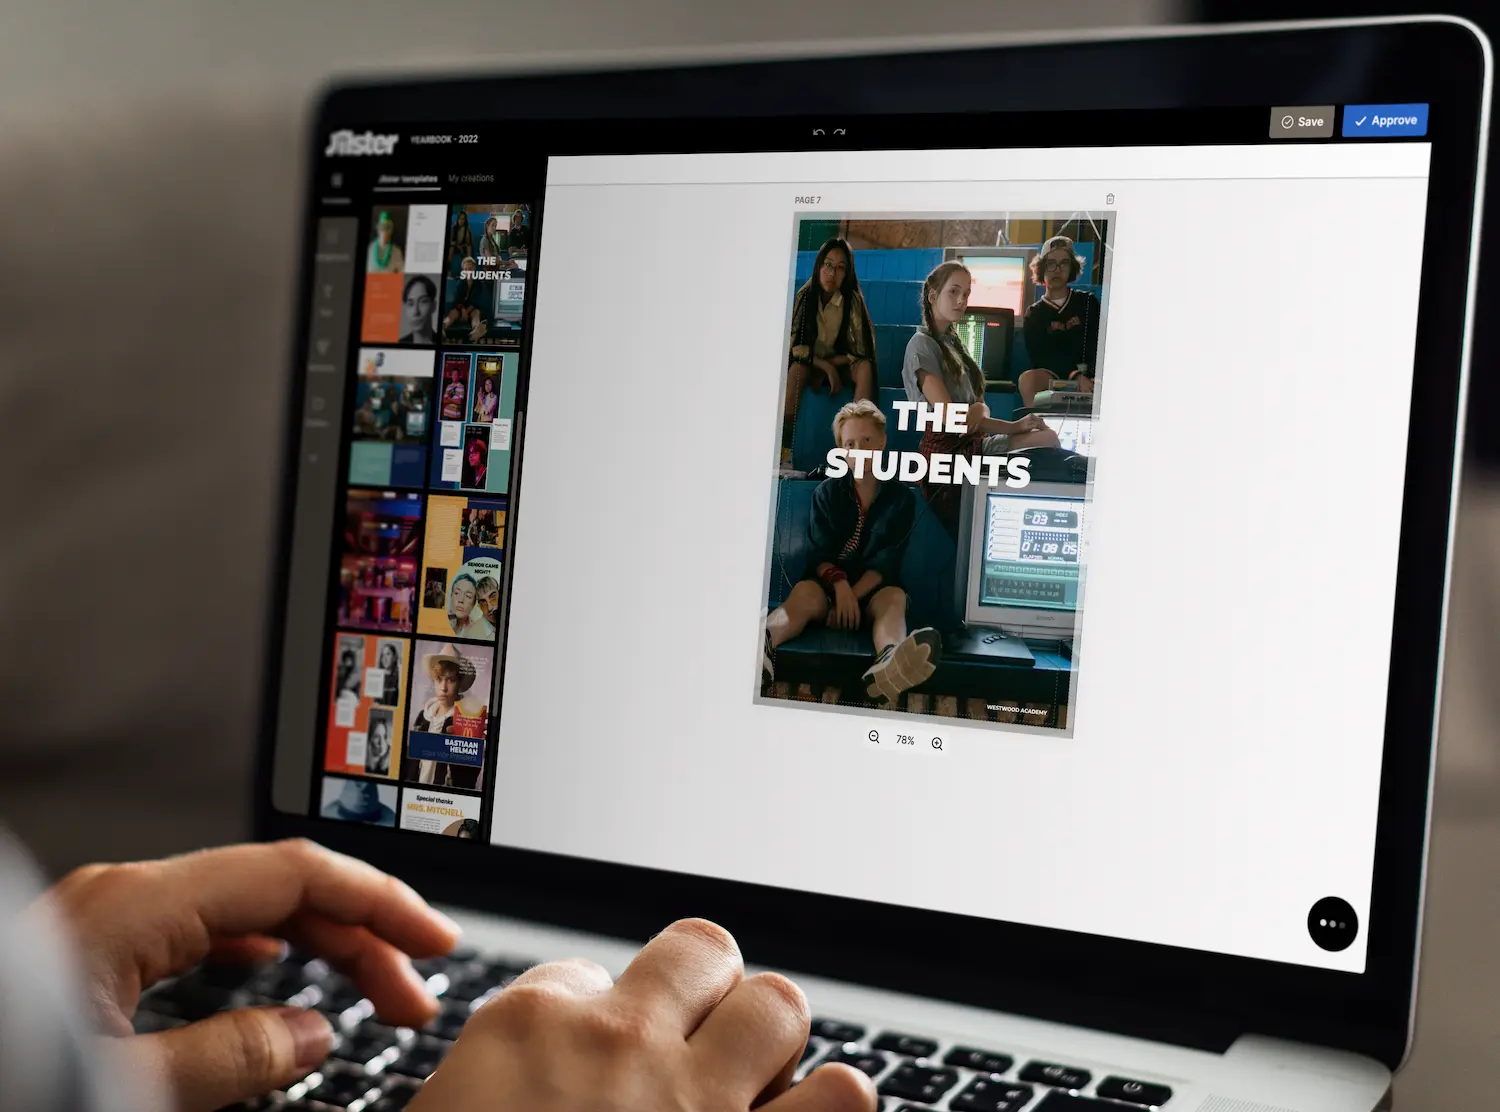
Note: You can use the price calculator to find out how much your order will cost, and you can also order a sample copy of the yearbook in advance to review as a printed version.
Support
If you have any questions about the design or printing of your yearbook, we are happy to help. Contact our support via email, WhatsApp, Facebook or just call us the old-fashioned way 😊 We're here for you.
